TEAM SAP Vista
Typically replies in a few hours
Customer Care Team
Hi there
How can i help you today?
How can i help you today?

Start Whatsapp Chat
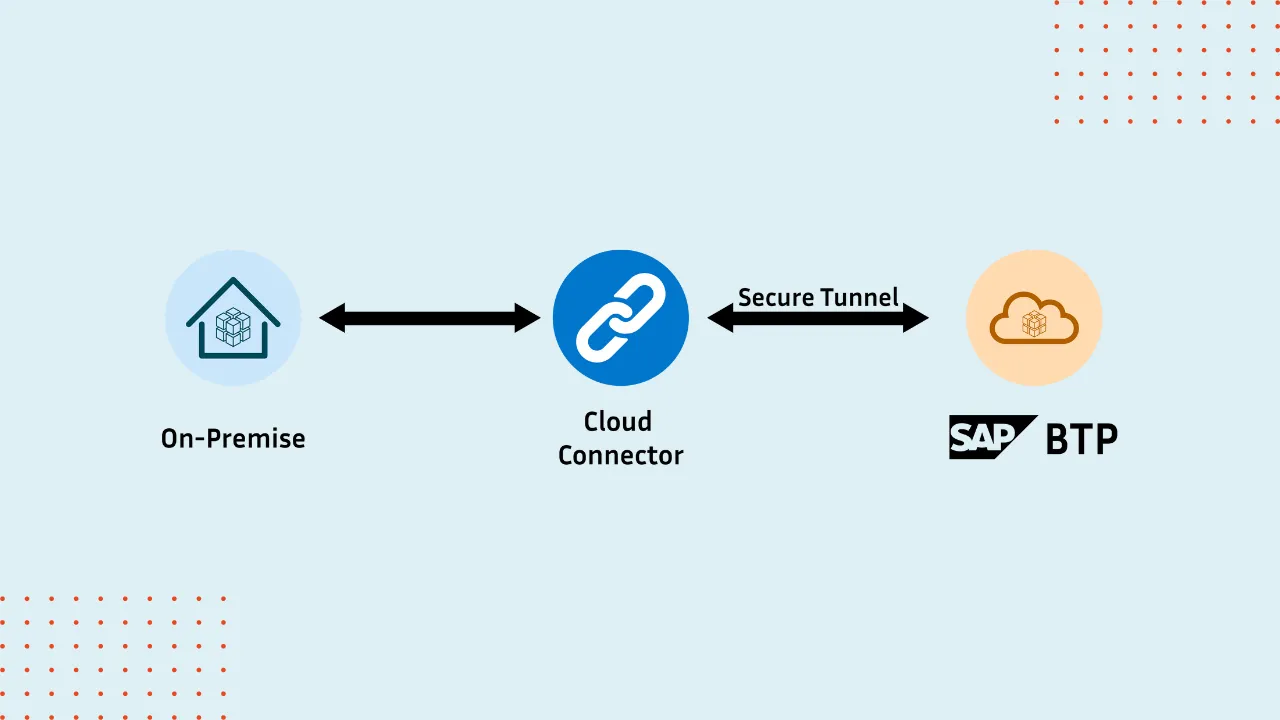

1. To begin, navigate to the website provided and locate the cloud connector download section. Once there, choose the appropriate version compatible with your operating system.
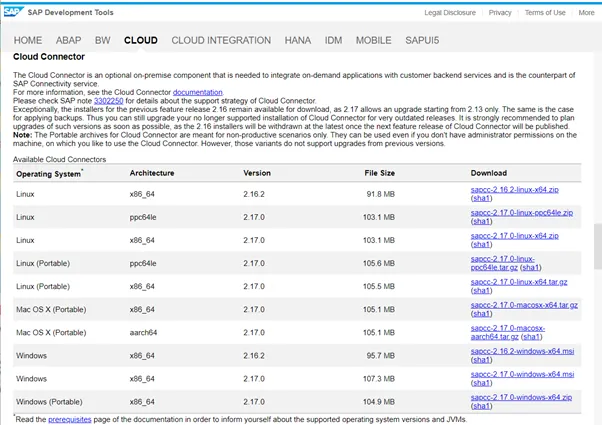
2. Click on the required version of the cloud connector based on your OS type and it will start downloading automatically.
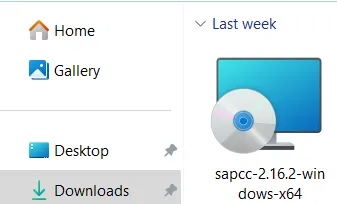
3. After the download completes, navigate to the folder where the file was saved and initiate the installation process by double-clicking on it; click “Next” to select the installation folder.
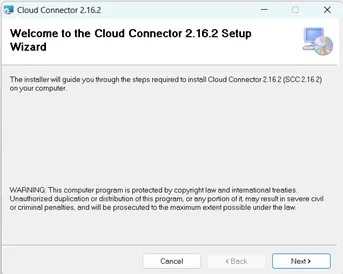
4. Follow the installation wizard, clicking "Next" to proceed to the selection of the installation folder.

5. Follow the installation wizard, clicking “Next” to proceed to the selection of the port number for the cloud connector.
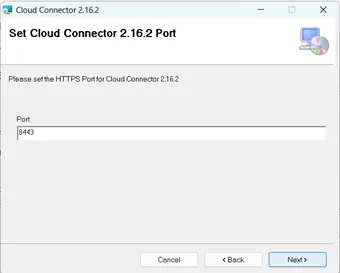
6. Follow the installation wizard, clicking “Next” to proceed to the selection of the Java version installed in your PC.

7. Select the check box and click “Next” to automatically open the Cloud Connector after getting installed.

8. Follow the installation wizard, clicking “Next” to start the installation process of the Cloud Connector.

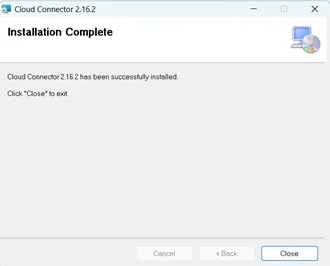
9. After the installation is done successfully then click on “Close”.
1. To start the cloud connector, access the start menu on your computer and search for the "Start Cloud Connector" option. Click on it to initiate the application.

2. It will start and displays a message like below.

Step – 3: How to configure SAP Cloud Connector
1. Begin by opening a web browser and entering the URL provided: https://localhost:8443.
2. Upon accessing the webpage, a security warning may appear. Click on "Advanced" and then select "Continue to localhost (unsafe)" to proceed.

3. Use the default login credentials provided:
User ID: Administrator
Password: manage

4. Upon initial login, you will be prompted to change the password for security reasons. Follow the instructions to set a new password.

5. Once logged in, proceed to fill in the necessary details using your SAP Business Technology Platform (BTP) sub-account information, including Region, Subaccount, Display Name, Subaccount User, and Password.
Then click on "SAVE".

6. Navigate to the Cloud to On-Premise tab to establish connections to on-premise systems.
To add a new system mapping, click on the "+" icon and follow the prompts.

7. Select the appropriate backend type.

8. Select the appropriate protocol.

9. Additionally, specify a internal hostname and port for future use in Destinations.
Provide the actual hostname and port of your S/4HANA on-premise system!

10. Provide a virtual hostname and port that will later on be used in Destinations to reach you on S/4HANA on-premise system using the SAP Cloud Connector. Those values don't exist yet - choose a name for the virtual host yourself.

11. Select the Allow Principal Propagation and click “Next”.

12. Choose Principal Type None from the drop down and press "Next".

13. Select Virtual or Internal Host Mapping and click on "Next".

14. Enter any description and click on "Next".

15. Provide a description for the mapping and complete the process by clicking "Finish".

16. After configuring the sub account click on the "+" sign on Resources.

17. Provide the resource configuration as shown in the screenshot to give SAP BTP access to certain paths in the S/4HANA on-premise system.
URL Path
Check Path and all sub-paths
Description

1. Open your SAP BTP Account in the SAP BTP Cockpit and navigate to your sub-account
2. Choose Connectivity in the menu on the left then choose Cloud Connectors to check the host details.

3. Go back to Connectivity in the menu on the left, navigate to Destinations and create a New Destination.

4. Enter the details
Name: Give a name of the connection
Type: HTTP / HTTPS
Description: Any
URL: Host Address
Proxy Type: HTTP / HTTPS
Authentication: Basic / Internet
User: You have to give the highest technical user in the SAP Server
Password:
Additionally, provide the following properties using the New Property button:
HTML5.DynamicDestination: TRUE
sap-client: 100
WebIDEEnabled: TRUE
WebIdeSystem: Give your System ID
WebIDEUsage: dev_abap, ui5_execute_abap,odata_abap

5. Save the destination and click on "Check Connection".


SAP Lead Consultant – ABAP Development & Subscription Billing at Altzen Technologies Pvt Ltd